Edit
processing
Meat Processing Best Practices
Posted under: getting started, processing, hints & tips
Posted under: getting started, processing, hints & tips
For all you hunters who know the right way is the only way, we’re with you. That’s probably why you’re thinking about processing your own game. And, if you’re looking for information about meat processing best practices, you’re in the right place. LEM makes some of the best equipment in the industry, but even great tools are only helpful if you have the know-how to put them to work.
LEM exists to simplify game processing and make it easier for any hunter to turn game into sausage, steaks, jerky, and burgers. That’s why we’re detailing the do’s and don’ts of game processing and digging into the reasoning each of them. We’ll also be sharing the insights we’ve picked up over the last 25 years LEM has been helping hunters from the field to the table.
Taking the correct steps at the right time will mean the difference in some of the tastiest meat you’ve ever eaten and not having to worry about getting unpalatable, tainted meat that might even be unfit for consumption. Let’s start with the list of “do’s.”
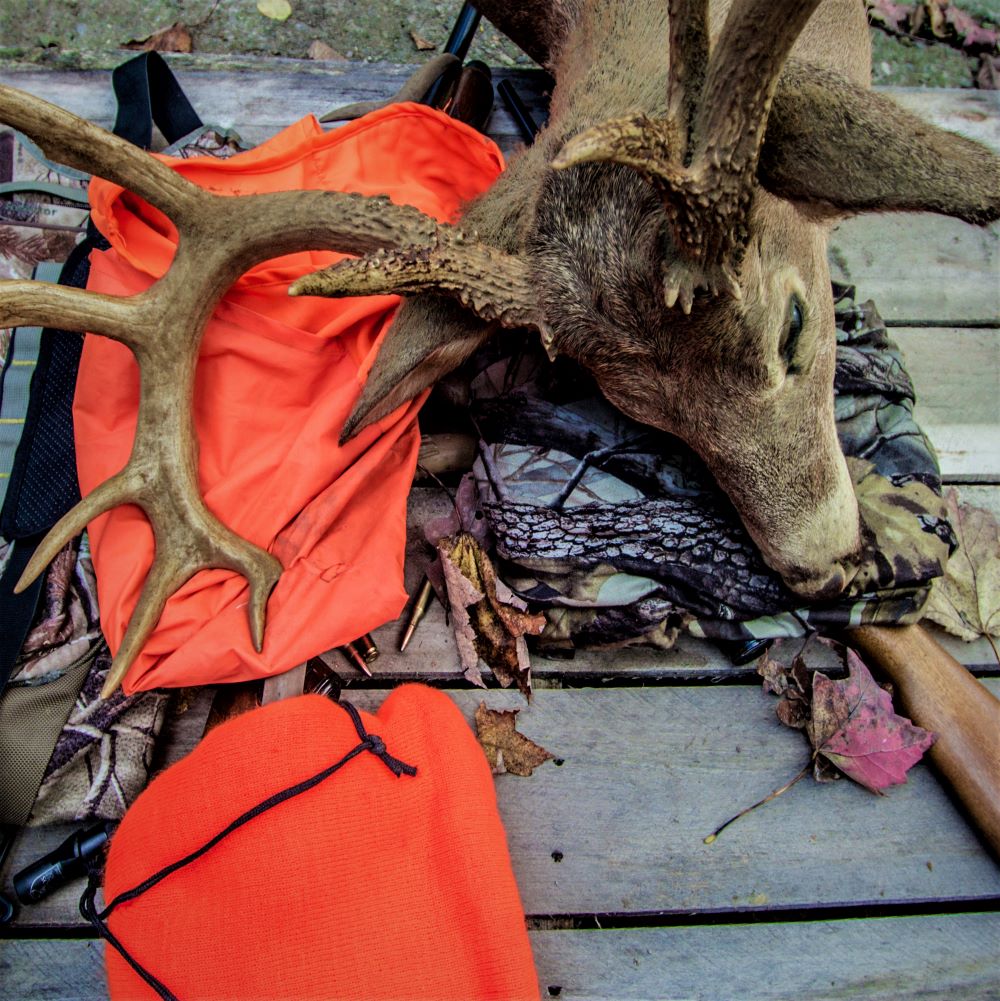
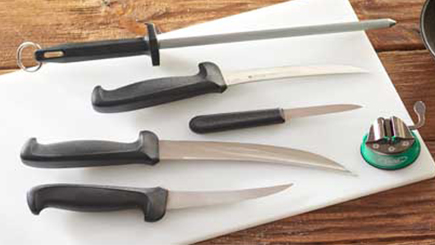 Having the right equipment, both in the field and back at home, makes all the difference. Get a good knife or knives, this should include a field dressing knife kit. You might also want a game bag and gloves. Shoulder length poly gloves keep you and your game clean and minimize exposure to bacteria. When you get out of the woods and you’re ready to hoist and hang, a gambrel gets that meat up off the ground and makes the process easier.
What you do in the field will make a big difference in the taste and flavor of the meat once you get it home. Remove the animal’s entrails as soon as possible, including the heart, lungs, liver, stomach, and intestines. Use your field dressing knife for this and don’t set it on the dirt between cuts. Rinse the blade often, especially if it touches the ground. Take special care not to rupture the stomach or intestines. If you do accidentally rupture either the stomach or intestines, you should cut away and discard any affected meat and (if you can) rinse the areas with fresh, clean water. Take care to keep the inside of the cleaned carcass free of dirt and moisture.
Procedures for tagging a deer vary from state to state, so check your state regulations for specifics. You should be able to carry any necessary paperwork, a small marker, and some disposable zip ties in your jacket pocket. Complete the paperwork as required and attach it to the carcass.
That skinner should stay in the sheath until you get home. This prevents the meat from drying out and keeps it clean. You’re also less likely to lose valuable meat by trying to skin in the field. Now, once you get the animal out of the field, you should get the hide off quickly.
Removal of the hide speeds the cooling process of the meat, (covered below.) Keeping the meat cool so it doesn’t go bad before you can process it is so important that we’ll revisit the topic again. That said, the hide could also have dirt, urine, or other nastiness, which can ruin your meat. This is why you’ll want to remove it quickly once you get out of the field.
Bacteria is your number one enemy. Failure to field dress (gut) your animal will cause gut bacteria to spread throughout the meat. This can ruin the flavor and even make the meat unfit to eat. Field dress as quickly as possible while being careful not to puncture the intestines or stomach.
There are several time and back-saving ways to get your deer out of the woods. Whether it’s an ATV, a sled, a rickshaw, or even a homemade travois, they’ll all protect the hide from the wear and tear of dragging the deer through the woods. But, if all else fails, then at the very least, radio one of your hunting buddies for an extra hand and wrap the deer in a sheet or tarp before you drag it. At LEM, we like to work smarter instead of harder.
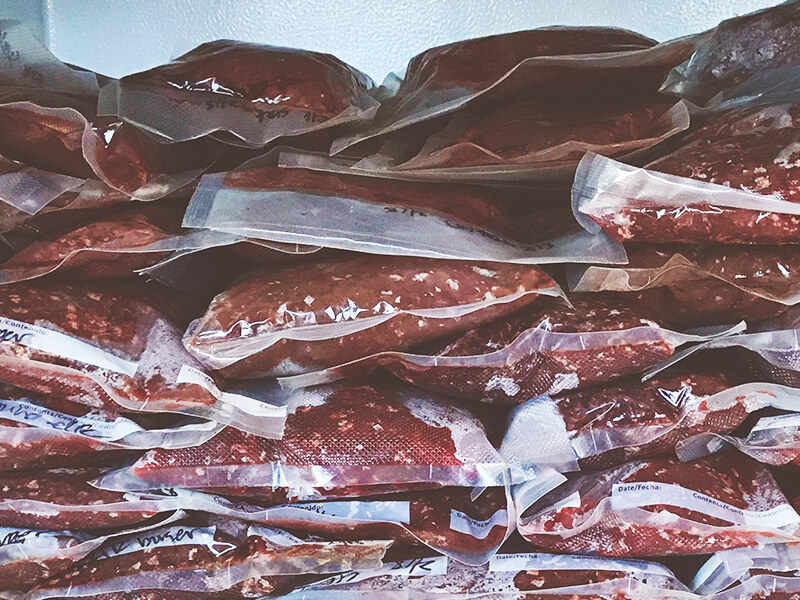 The bacteria we mentioned above will start to grow immediately after you take that deer. This is why you want to start cooling the carcass as soon as you can. Whenever possible, refrigerate your deer, especially if the ambient temperature in the area you hang your deer is well above freezing. If you have access to a walk in cooler, consider using it anytime the ambient temperature dips below 40 degrees. At ambient temperatures over 50, you want to refrigerate within three to four hours of the kill. Temperatures below freezing will inhibit bacteria growth, but you still want to get the process started quickly.
Remember, the hunt doesn’t end until you sit down at the table – that’s why our Big Bite Meat Grinders features our exclusive auger design that grabs meat and pushes it through the plate 30 to 50% faster than other grinders. Do justice to all that time you spent tracking, cutting trails, and waiting in a stand; don’t rush through pre-processing preparation. Pride comes from knowing you did every step right along the way, and that includes taking special care when processing your game. You’ll find the tools at lemproducts.com and the know-how right here.
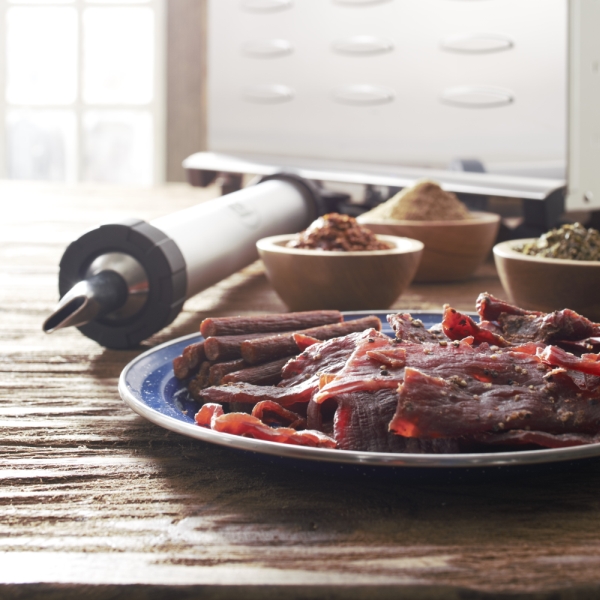
One of the most common debates among jerky enthusiasts is the difference between ground and muscle jerky.
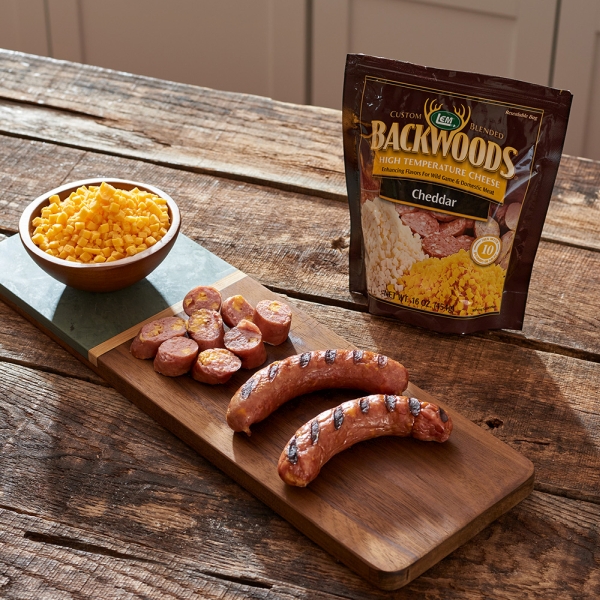
High Temp Cheese is the best. It can be stored for longer and withstand heat up to 400 degrees. With many flavors, all your sausage...
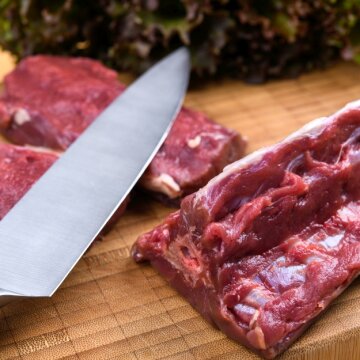
Processing deer at home isn't as scary as it seems. Here's a quick rundown of what you need to know to approach the job with...