Edit
processing
Five Home Processing Prep & Planning Tips
Posted under: processing, lifestyle, getting started
Posted under: processing, lifestyle, getting started
There are lots of reasons hunters are hesitant to process their own deer: What if I mess up and waste the meat? Will turning the kitchen into a processing center drive my spouse or partner out the door for good? Am I equipped to get the job done right?
Processing deer at home isn't as scary as it seems, especially with the right preparation. And there are a lot of benefits to skipping the processor. Here's a quick rundown of what you need to know to approach the job with confidence, and get it done as efficiently as possible.
It sure would be nice to have a walk-in cooler to hang your deer, but in reality, most of us let our game cool in a shop or garage as long as it has good air circulation, a solid structure from which to hang a 150 lb. field-dressed deer, and temperatures that don't drop below freezing but stay well below 60 degrees. You can also hang your deer outside as long as it's protected from rain, scavengers, and from the view of neighbors who might not be as keen on hunting as you are.
Another option is to debone your deer and place the meat in a cooler on top of bags of ice, with the drain hole opened to let water and blood drain out. The critical trick is keeping the meat from sitting in moisture, and the lack of air movement is a major drawback to this method.
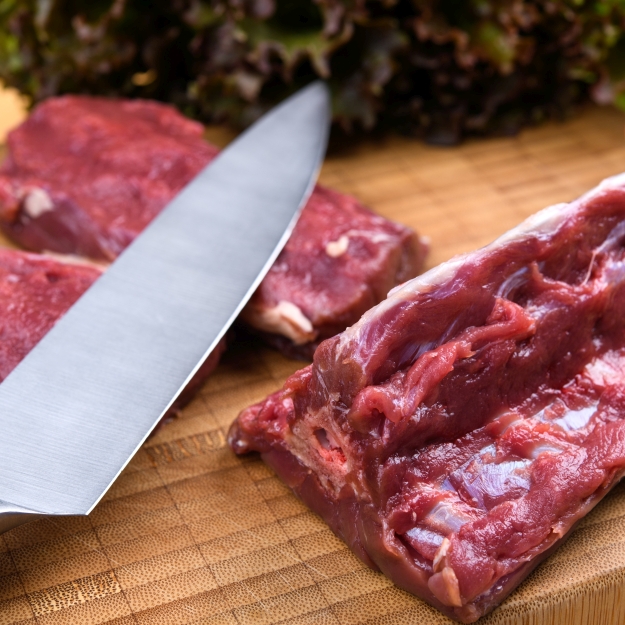
You don't have to be a professional butcher to learn how to take apart a deer so that you get the steaks and roasts you want, and with the right equipment, jerky and sausage making is not just easy, but fun.
Start by studying a good processing chart, and watching a good step-by-step video or two; there is no shortage of them on YouTube. It's never a bad idea to have access to a laptop or TV while you're working—just protect your remote or keyboard with plastic film to prevent contamination. Keep this in mind: You won't really learn until you're doing it, and practice makes perfect.
A good rule of thumb is to have one cubic foot of freezer space for every two to three pounds of venison. Still have meat from last season, and you need to make room? Time to grill it up and invite friends to help you eat it... and to process this year's harvest!
If you plan to can some meat this year, we recommend putting two pounds of cubed meat into each wide-mouth quart jar. Once canned, much of that weight will be liquid, and you're left with just enough meat for a crock pot of chili or an enchilada casserole.
You don't need a large surface area to cut up even a whole hindquarter, though we recommend removing the leg below the knee before you bring it inside. Six square feet of work area is plenty, plus any processing equipment and the space you need for these recommended containers:
Next, cover your working space with freezer paper, slick side up, and tape them down. This is a lot more sanitary than working directly on surfaces and makes for easier cleanup during breaks or when you're finished.
Finally, set up your sink area, so you can frequently wash and dry hands, knives, jars, and bins.
Even if you don't have chronic wasting disease (CWD) in your area, it's up to us hunters to prevent its spread. Check with your state fish and game department for their recommendations, which are usually the following:
When you're properly set up for processing your first deer, you'll have a lot more confidence to attack the job. And we're confident you can get the job done right when you're equipped with LEM processing products!
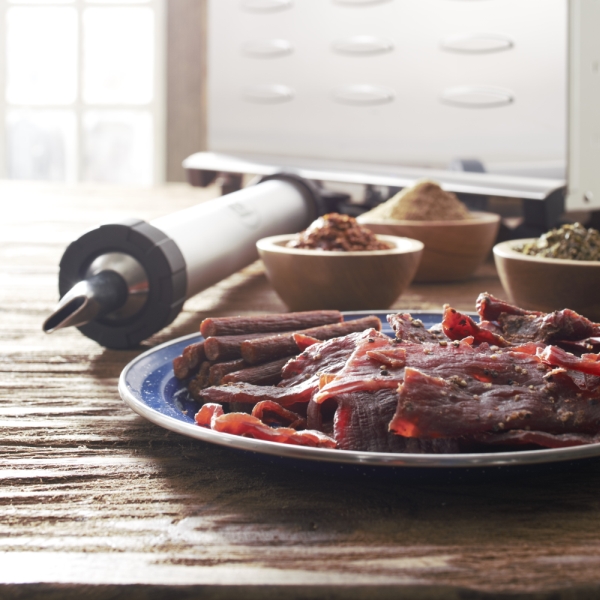
One of the most common debates among jerky enthusiasts is the difference between ground and muscle jerky.
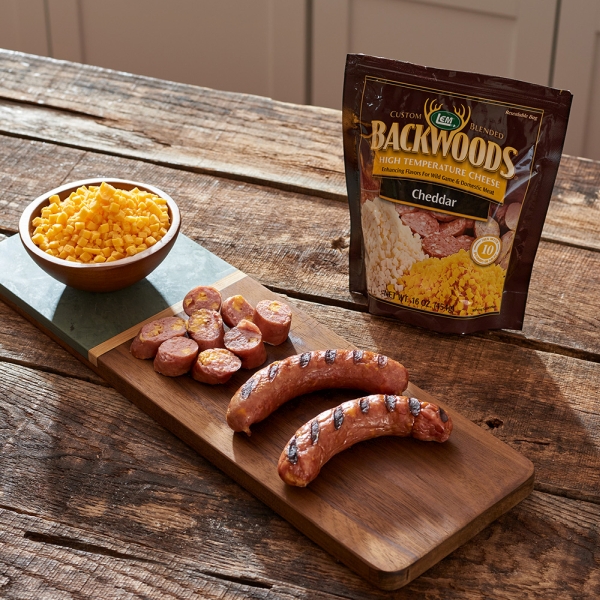
High Temp Cheese is the best. It can be stored for longer and withstand heat up to 400 degrees. With many flavors, all your sausage...

Anyone can process their own meat at home. There's no better feeling than knowing you harvested, processed, and prepared a meal out of game meat...